You have no items in your shopping bag.
Samples to Try
FREE
Cart Total
Worldwide shipping
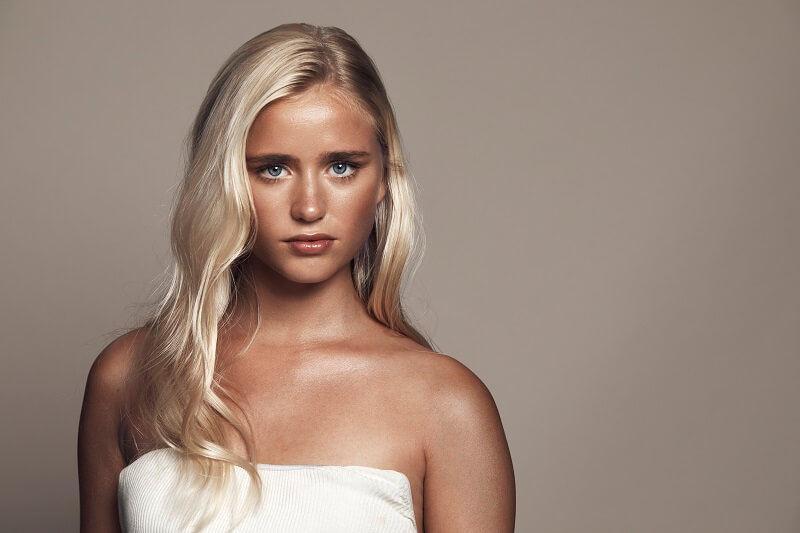
If you’re longing for that all year round, golden sun-kissed glow on your skin but have no idea where to even begin – don’t panic. Here, we will talk you through the whole tanning process with some extra top tips thrown in from our skincare experts for good measure! Even if you are an experienced self-tanner you are sure to learn something that you didn’t know before today.
The most perfect ‘I’ve been on holiday for a fortnight’ tan does take a little bit of preparation beforehand but nothing too tiresome. Let’s start right from the beginning.....
Exfoliate Preparation really starts the day before you plan on applying the self-tan. It is essential that you exfoliate everywhere that you are planning to use the product as you want to remove any dead skin cells and create the smoothest surface that you possibly can – Jan Marini Bioglycolic Resurfacing Body Scrub uses a combination of Glycolic Acid and polished granules to provide a brilliant level of skin rejuvenation. For the best results, you really need to make sure you are exfoliating (weekly!) and moisturising (daily!) regularly and consistently to ensure you are keeping on top of it. One-off body exfoliation isn’t usually enough.
Hair Removal After exfoliating, remove any unwanted hair at the same time. It is really recommended to do this the day before as well to prevent any product from seeping into pores and creating the little dots on your skin however if you are pushed for time then the minimum amount of time to leave would be 1 hour before.
Moisturise The next step to ensure you get a super even base is to moisture everywhere that you are planning to use the product. Concentrate thoroughly on areas that are prone to becoming dry and rough so that the self-tan doesn’t cling to these areas once applied – elbows, ankles, knees, hands, wrists, and feet. Once again, if you are pushed for time then just focus on moisturising these drier areas and anywhere else that you may experience dryness. Feel like you’re really on a tropical escape with the scent of coconut by using Eminence Organic Coconut Firming Body Lotion and also reap the extra firming properties within the formula. If you’re excessively dry then switch for Medik8 Nourishing Body Cream and wrap your skin in a rich coating of that instead.

Application is the key here but it does all depend on the formula that you are using too. Products such as Tanrevel as so easy as they provide a convenient spray to use which saves you needing extra tools but also saves you from the worry of getting the dreaded orange palms! Self-tan drops like Swiss Clinic Self Tan Drops are super easy too and just require you to mix into your usual day moisturiser but do ensure that you wash your hands afterwards. Otherwise, if your tan is a foam, mousse, gel or similar then we recommend applying with a brand new or freshly washed tanning mitt and ensure that you wash it after every use. A mitt will create a streak-free finish and keep your palms clean too.
Most tans come with a guide colour (the colour it immediately appears as when it goes on the skin) which is helpful to see where you have already applied and areas that you may have missed without realising. Use long strokes and blend as you go for the best, most even finish. For areas such as hands, feet and even the face you can use a clean make-up brush rather than a mitt to apply instead and buff into the skin to reach areas a mitt may not plus leaving a softer finish.
If you are anxious about applying self-tan to your face for the first time then you could dilute a little of the formula with your usual moisturiser first of all.
Patience Now all the hard work has been done all you need to do is sit back, relax and wait for your gorgeous tan to develop! Allow the self-tan to dry completely. Ideally, you will have applied the self-tan at night time but if you are applying in the morning then ensure that you put on some loose, dark clothing if you can for the day once the formula has dried. Again, if you are in a rush then you could speed up the drying process by gently blow-drying the skin using a cool-ish setting.
The next day, finally reveal your perfect tan by jumping in the shower using water that isn’t too hot and wait for the water to run clear. However, with some tans, you won’t experience the water turning a different colour so just have a shower as you usually would.
Maintenance, Of course, you can enjoy your tan as it is and in that case, then there is nothing more than you need to do except show it off! However, there are a number of things that you have the option of doing in order to maintain your tan for as long as you possibly can. To maintain, every couple of days, give your skin a very light exfoliation in the shower to buff any dull and uneven skin away. Always ensure that you are moisturising daily too!
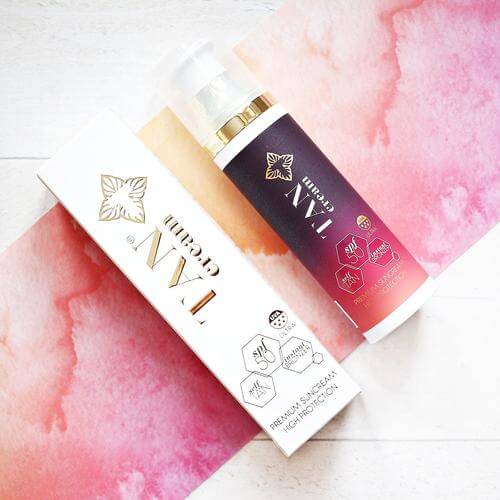
A unique formula that not only acts as a gradual tanner but also hydrates instantly bronzes the skin and also provides SPF50 protection. What’s not to love!
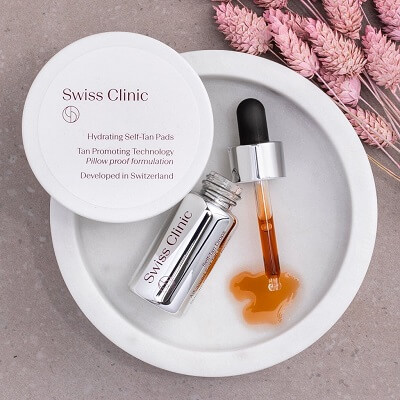
Swiss Clinic Hydrating Self Tan Pads
These could not be easier to use! Simply cleanse the skin and sweep it all over the complexion. The pads are so hydrating that you don’t even need to use a moisturiser afterwards if you don’t want to.

 With This Product")

